

And then there was 2….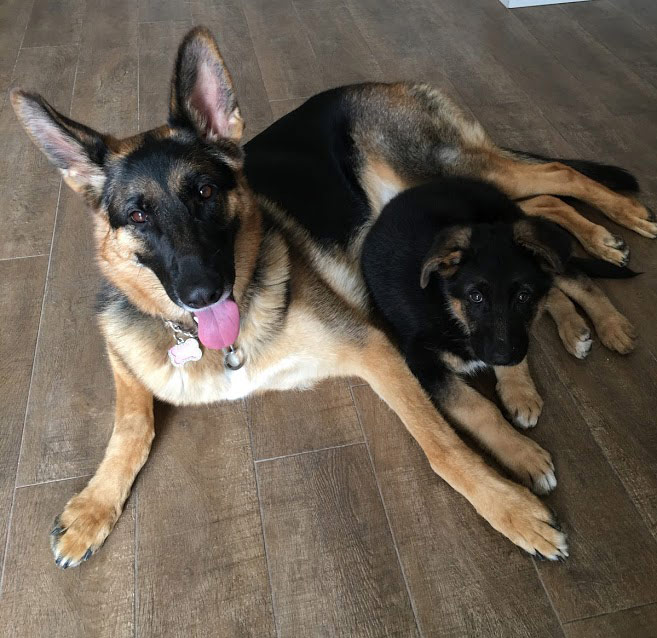
Our dogs are crate trained which is great and has many upsides. They get a comfy place of there own where they can sleep and stay in when we are gone. The problem is when you have a big dog the crates are HUGE!! 1 crate takes up a lot of room, 2 makes it look like your running a kennel out of your home. Not in my house, NOT UP IN HERE!!
Solution, dog crate cover.
Sure you can buy one for $200 or more or you can build two yourself for under $40, maybe less.
Dog crates come in all shapes and size so a tutorial wouldn’t do much good but maybe the visuals will inspire you to make your own.
I built the entire frame out of 1×3 boards except for the top frame that attached to the bottom of the plywood, for that I used 1×2 and the only reason for that was because there wouldn’t have been enough clearance for the door to open. The frame is NOT the support, the whole thing literally just lays on top of the crate, its simple a cover. If I were to remove the crate from underneath this thing would barely support its self or anything placed on top.
For the tops I bought a solid piece of plywood and cut to size. 1/2 inch and above should be fine. I wanted these thick, so there would be no bending or warping.
Below you can see the stained ply wood with the 1×2 white square frame attached to the bottme. This is what I attached the legs and sides to.
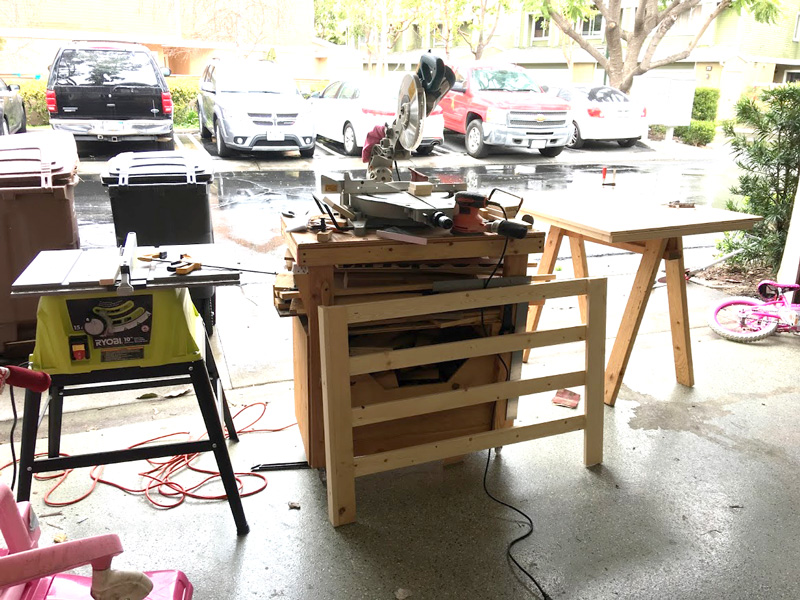
I had to assemble the legs and sides to the frame inside, this thing was too big to bring in through the door.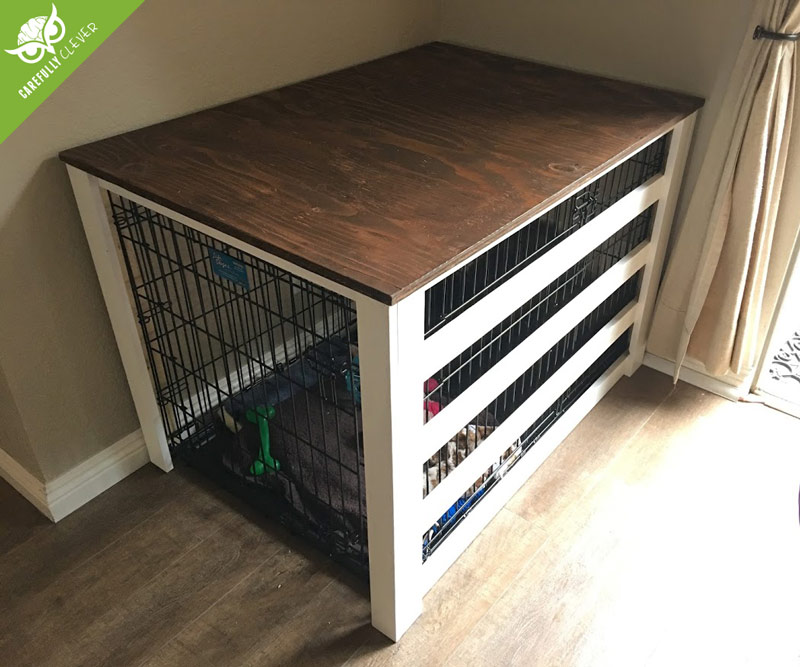
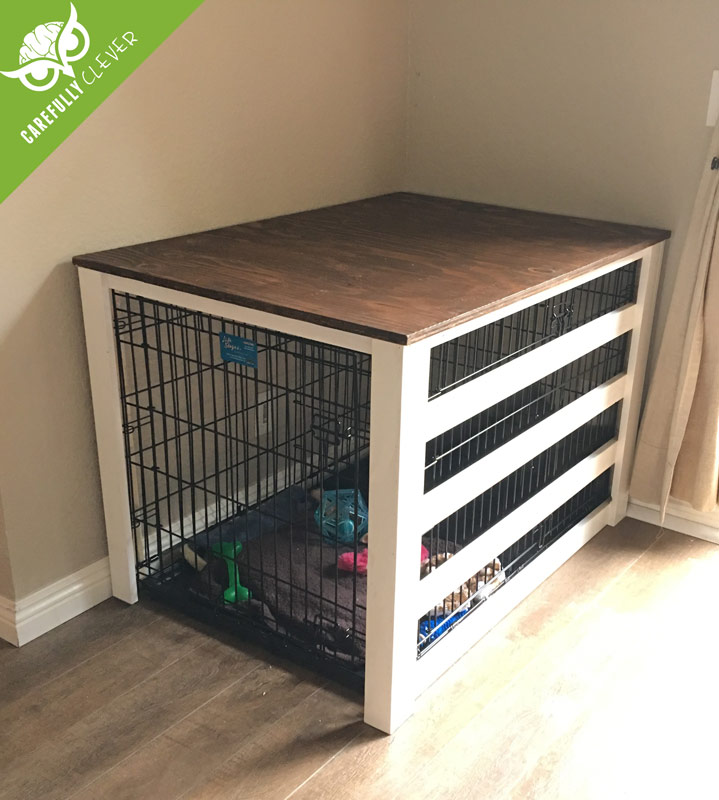
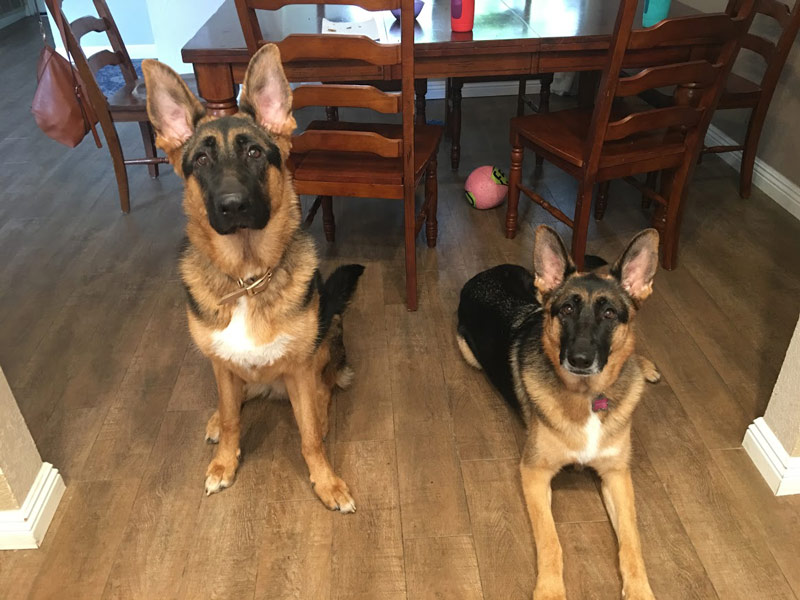
Now it looks like our dogs live in a piece of furniture. I am happy.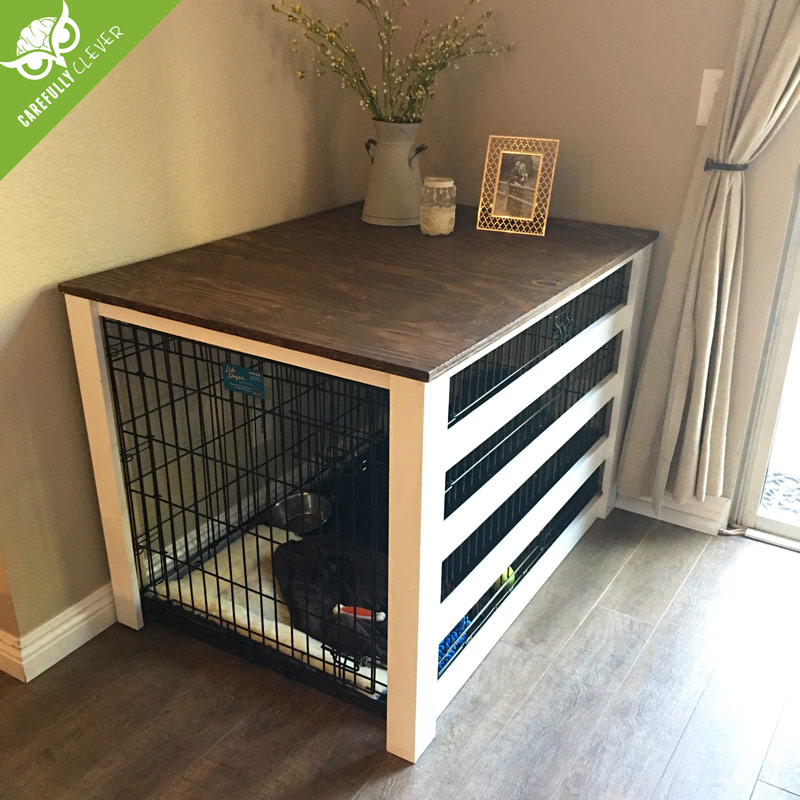 They dont stay small for long…


This is AWEOSME, and I will be replicating! We are looking for a new puppy and yours are beautiful. Do you have a breeder you recommend?
Thank you! We actually didn’t use a breeder, We had some friends who’s dogs had puppies.
[…] (adsbygoogle = window.adsbygoogle || []).push({}); Best DIY Wooden Dog Crates from DIY Dog Crate Cover. Source Image: carefullyclever.com. Visit this site for details: carefullyclever.com […]
Wail this come off easily so it doesn’t have to come with us for the occasional travel ?
You could certainly with a few modifications build it that way. I did not. But if you attach the legs with bolts or screws, you could un-due the legs which would just leave you with the top.
[…] Best Dog Crate Furniture DIY from DIY Dog Crate Cover. Source Image: carefullyclever.com. Visit this site for details: carefullyclever.com […]
[…] Download Plan More @ carefullyclever.com […]
How did you attach everything?
The top plywood has glued 1/3 boards to it that form a rectangle around the top of the crate. Once the plywood is laying on top, I screwed the legs to the 1/3 boards. You can use screws or nuts and bolts. The legs are just for looks and dont provide any actually support since the top plywood lays on top. Hopefully that helps
[…] Best Dog Crate Cover DIY from DIY Dog Crate Cover. Source Image: carefullyclever.com. Visit this site for details: carefullyclever.com […]
Just wanted to say keep up the good work. Thanks for the post.
[…] Best DIY Wooden Dog Crates from DIY Dog Crate Cover. Source Image: carefullyclever.com. Visit this site for details: carefullyclever.com […]