

How to make a Plinko Board
My favorite game on the “price is right” was always plinko and I’ve always wanted to make one just never had a reason. I have seen a lot of people convert plinko to drinko and turn it in to a fun drinking game. I have my own Fantasy Football league and one of the struggles is how we pick our draft order every year. One year we did K1 go-kart racing, another we played beer pong with hidden numbers on the bottom of each cup, this year I needed something new. This was the perfect opportunity to build my Drinko/Plinko game.
You will need: (shop supplies here)
- 1 or 2 – 1/4″ pegboard – 24″ by 48″ (I used 2 so the dowels could sit inside without glue)
- 3 – 8′ / 1×3″ boards
- 1/2″ finishing nails
- 8 – 48″ size 1/4 dowels cut to 2″
- Wood Glue
- Orbital Sander or Sand Paper
- Screws
- Saw – Miter Saw
- Ping pong ball (this ended up working way better than everything else I tired and surprisingly doesn’t fall out)
Step 1 – Make your cuts
Cut your 1×3 boards. This will be your frame around your peg board .
- Cut 2 – 48″ pieces, these will be the sides
- Cut 1 – 22 1/4″ piece, this will be thebottom center
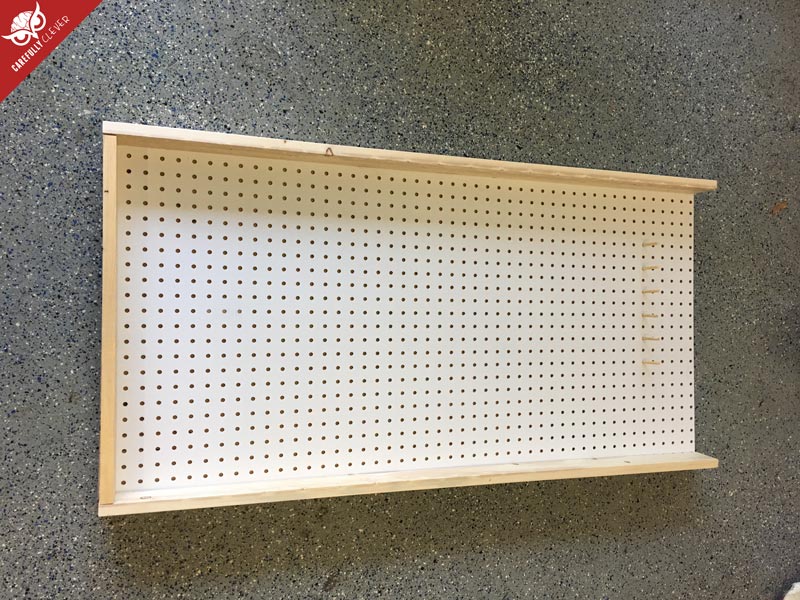
Step 2. – Attach Frame
Screw your frame together, when its done it will look like a giant U. Clamp to your peg board and attach your U shaped frame. Pre-drilling holes is recommended.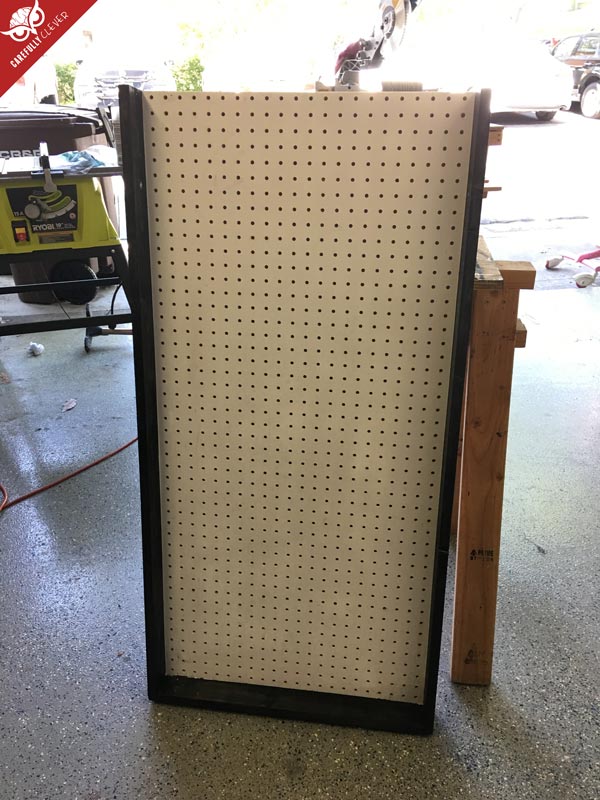
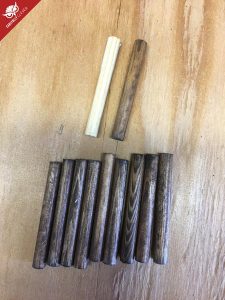
Step 3. – Cut Dowels
Cut your dowels down to 2″ sizes using a miter saw or hand saw. I stained mine, it was a huge pain in the ass.
Step 4. – Cut Bottom Pocket Pieces
You can make as many pocket holes as you want, these will be where the ball ends up.
I made 6 pockets and for this I used left over 1×3 boards and cut them down to 5″ sizes.
I then Clamped and used Wood Glue to secure them in place.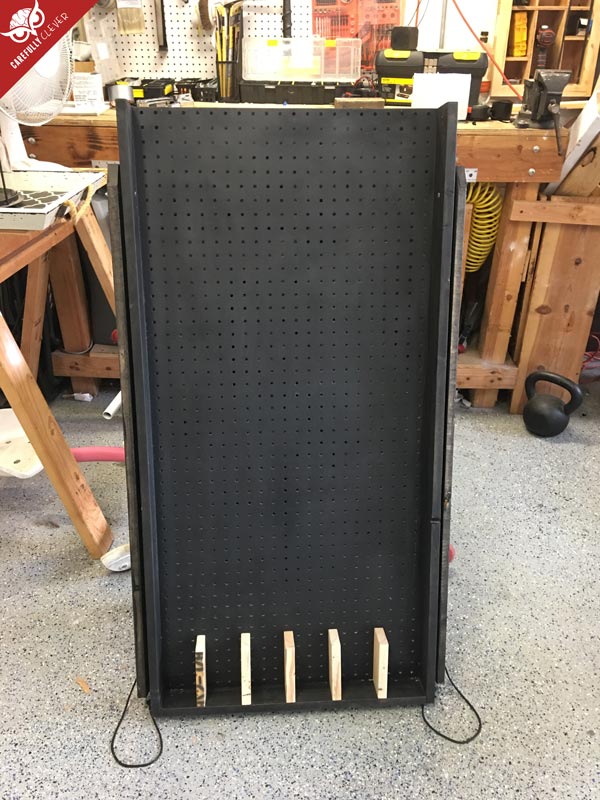
Step 5. – Paint and Design
I went with a less creative but super manly all dark flat black color. Paint yours however you want.
Step 6. – Attach 2″ Dowels
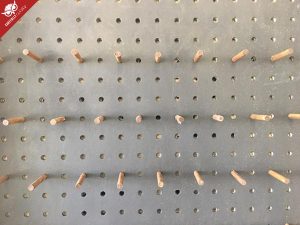
Depending on what your using for a disc or ball will determine the size and spacing of your dowels. I went with a ping pong ball which required me to put a dowel in every OTHER hole. 11 dowels per row with a 2 row gap between dowels.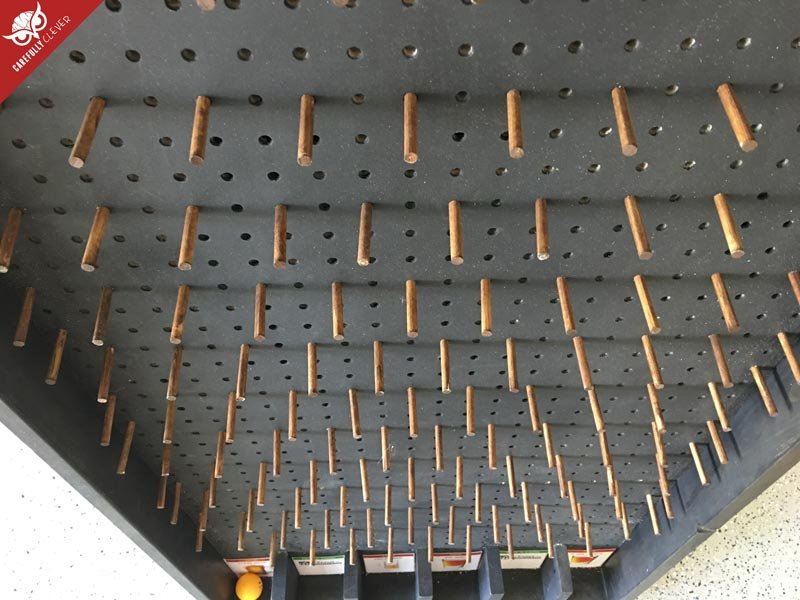
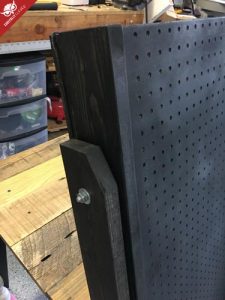
Step 7. – Cut and Attach Legs
There are probably better leg designs out there, this isthe super simple way I did it with left over scrap materials around my garage. I cut 2 – 42 1/2″ 1×3 boards and attached them to each side with 2 1/2″ bolts and nuts. Then I attached some string so they would only pull out 16″. I then make shifted a little locking system for when I’m storing them


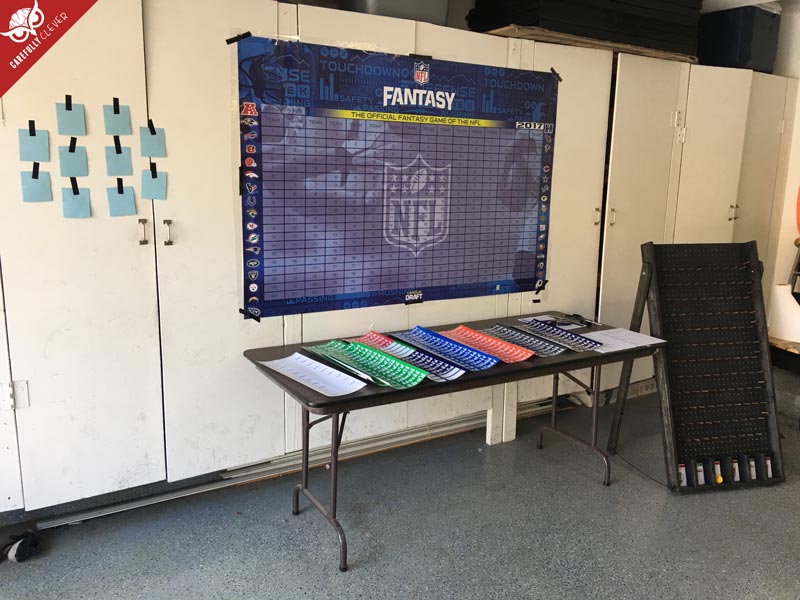
It was a success!


I needed 10- 48” 1/4 dowels not 8
And I cut mine down to 2” as well
I would advise you change this on your “what you’ll need” list as it’s misleading.
Its not misleading, its what I used. You must have laid it out differently than I did, I have bunch of dowels left over. I did 12 rows of 12 dowels, thats 148 total, you can get at least 23 dowels per sticks, from 8 sticks you would get 184 leaving 36 extras.
the what you’ll need is correct. thank you this was so easy
Pretty! This was an extremely wonderful post.
Thank you for providing these details.
Did you use the finishing nails or screws to attach the pegboard to the frame? If screws, what are the finishing nails used for?
Thanks
I used screws to attach the pegboard to the frame. I’ll be honest I completely forget why or if I actually used finishing nails. I might have used them as extra support to connect the frame to the pegboard to avoid any bubbling or spacing over time. Sorry, not the most helpful answer.
Thanks so much, that was really all I needed to know. I can see where over time there will be a little “pucker” between screws. I’ll address that as I need to.
Not sure if I used the best method for getting the dowels in the pegboard (small hammer). There are a few pegs that messed up the back of the pegboard a little, but it all still works fine. I made mine about 1/4 smaller than yours, it needed to fit on a classroom table.
[…] Spice up your backyard parties by adding some fun games that a whole family will love to play. Make this Plinko board that can stand alone in a stand and set to any particular angle. Grab the custom wood pieces, MDF or plywood, and a drill to make this black Plinko board. It will work up super quickly. carefullyclever […]