Thursday, December 26, 2024
Home Blog Page 3

How to Build a Plinko Board – Drinko

8

How to make a Plinko Board

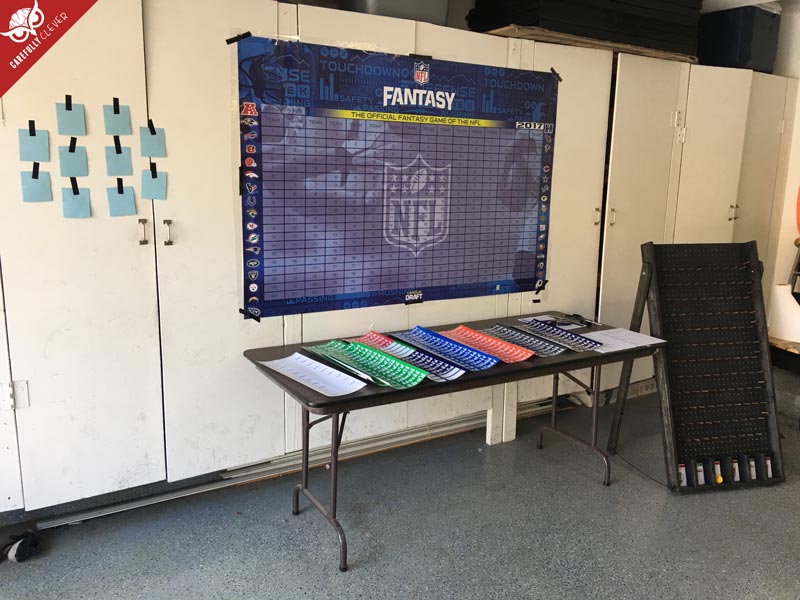
My favorite game on the “price is right” was always plinko and I’ve always wanted to make one just never had a reason. I have seen a lot of people convert plinko to drinko and turn it in to a fun drinking game. I have my own Fantasy Football league and one of the struggles is how we pick our draft order every year. One year we did K1 go-kart racing, another we played beer pong with hidden numbers on the bottom of each cup, this year I needed something new. This was the perfect opportunity to build my Drinko/Plinko game.

You will need: (shop supplies here)

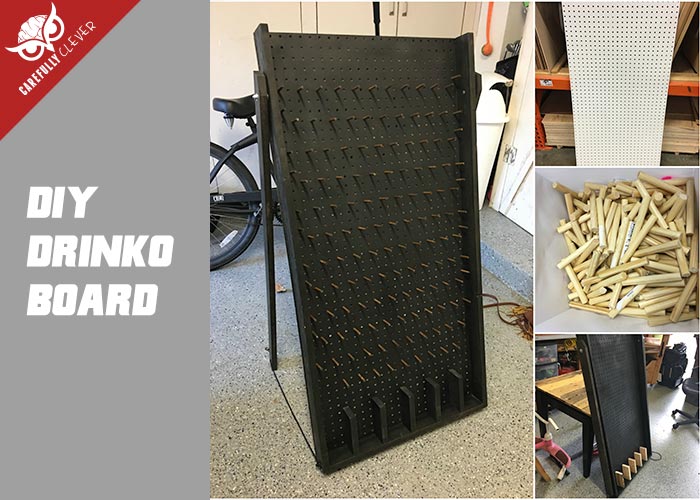
  • 1 or 2 – 1/4″ pegboard – 24″ by 48″ (I used 2 so the dowels could sit inside without glue)
  • 3 –  8′ / 1×3″ boards
  • 1/2″ finishing nails
  • 8 – 48″ size 1/4 dowels cut to 2″
  • Wood Glue
  • Orbital Sander or Sand Paper
  • Screws
  • Saw – Miter Saw
  • Ping pong ball (this ended up working way better than everything else I tired and surprisingly doesn’t fall out)

Step 1 – Make your cuts 

Cut your 1×3 boards. This will be your frame around your peg board .

  • Cut 2 – 48″ pieces, these will be the sides
  • Cut 1 – 22 1/4″ piece, this will be thebottom center
Step 2. – Attach Frame

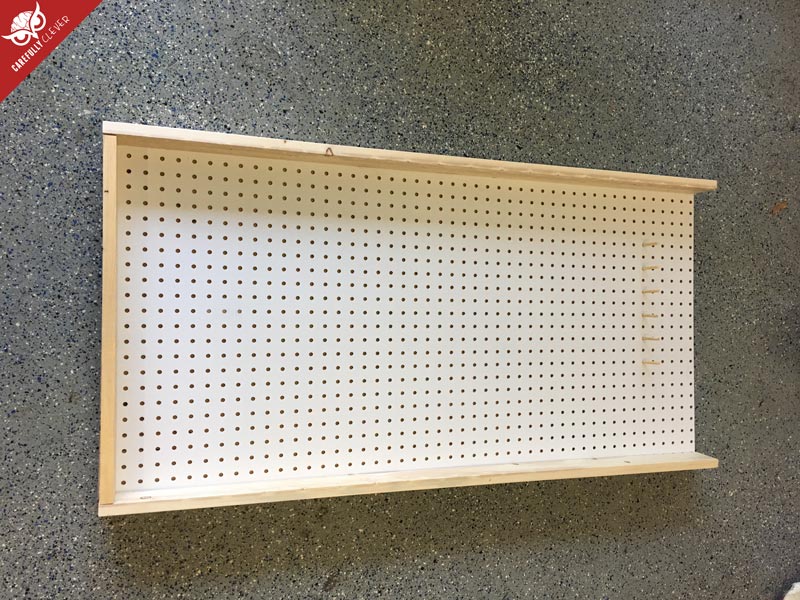
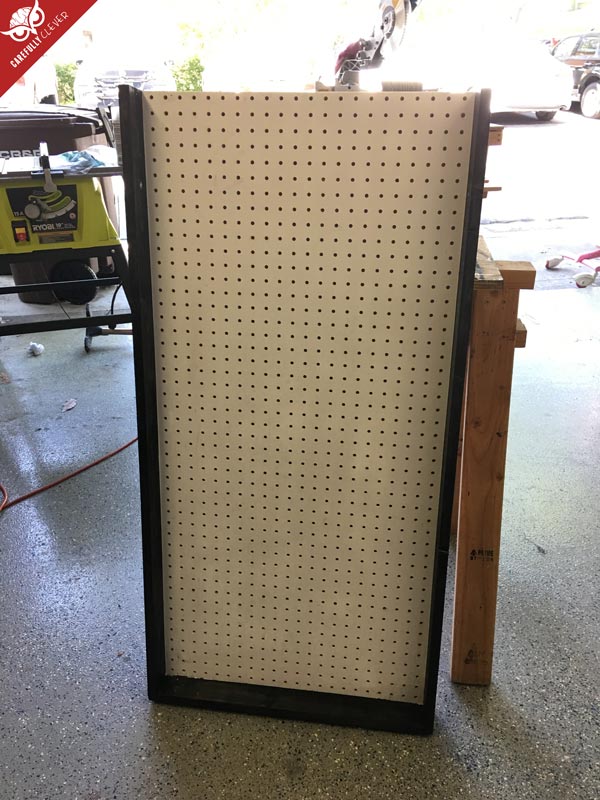
Screw your frame together, when its done it will look like a giant U. Clamp to your peg board and attach your U shaped frame. Pre-drilling holes is recommended.
Step 3. – Cut Dowels

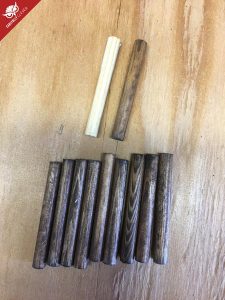
Cut your dowels down to 2″ sizes using a miter saw or hand saw. I stained mine, it was a huge pain in the ass.

Step 4. – Cut Bottom Pocket Pieces

You can make as many pocket holes as you want, these will be where the ball ends up.
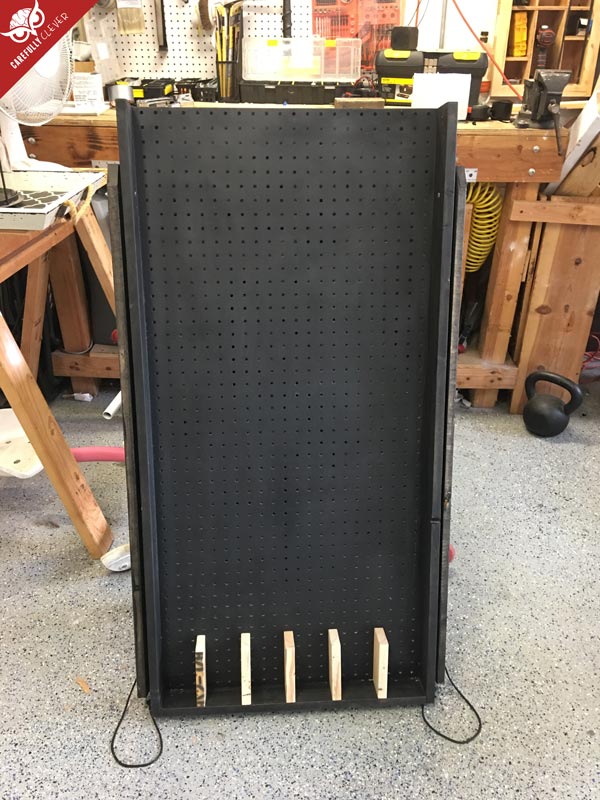
I made 6 pockets and for this I used left over 1×3 boards and cut them down to 5″ sizes.
I then Clamped and used Wood Glue to secure them in place.
Step 5. – Paint and Design

I went with a less creative but super manly all dark flat black color. Paint yours however you want.

Step 6. – Attach 2″ Dowels
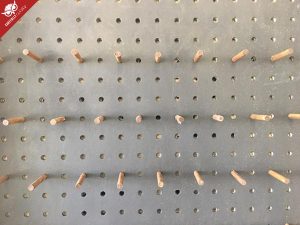
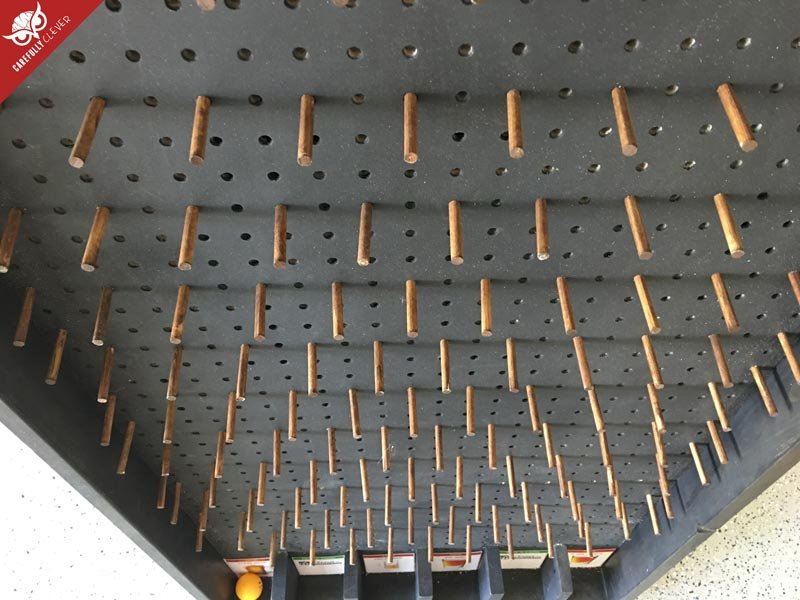
Depending on what your using for a disc or ball will determine the size and spacing of your dowels. I went with a ping pong ball which required me to put a dowel in every OTHER hole. 11 dowels per row with a 2 row gap between dowels.
Step 7. – Cut and Attach Legs

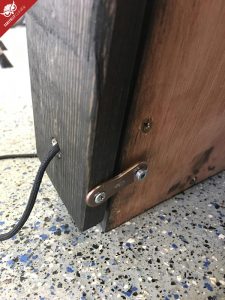
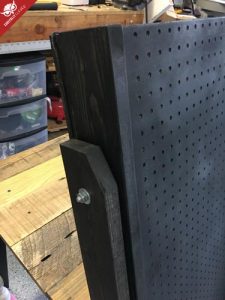
There are probably better leg designs out there, this isthe super simple way I did it with left over scrap materials around my garage. I cut 2 – 42 1/2″ 1×3 boards and attached them to each side with 2 1/2″ bolts and nuts. Then I attached some string so they would only pull out 16″. I then make shifted a little locking system for when I’m storing them
It was a success!

DIY Dog Crate Cover

12

And then there was 2….

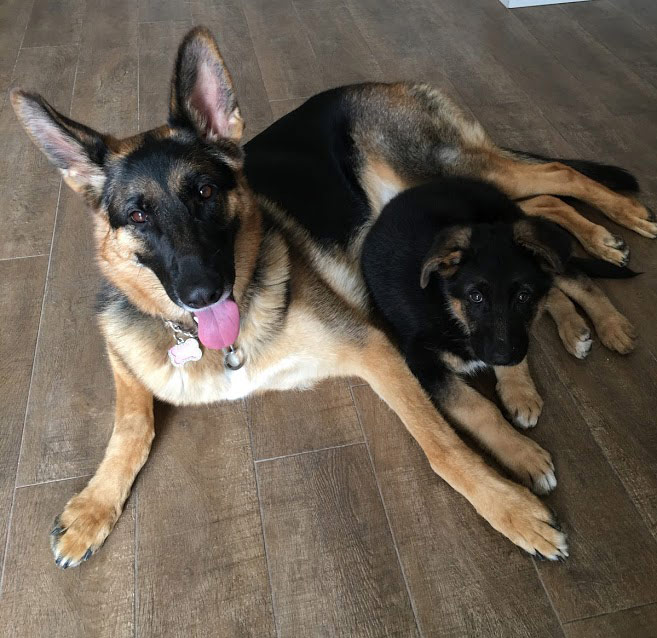
Our dogs are crate trained which is great and has many upsides. They get a comfy place of there own where they can sleep and stay in when we are gone. The problem is when you have a big dog the crates are HUGE!! 1 crate takes up a lot of room, 2 makes it look like your running a kennel out of your home. Not in my house, NOT UP IN HERE!!

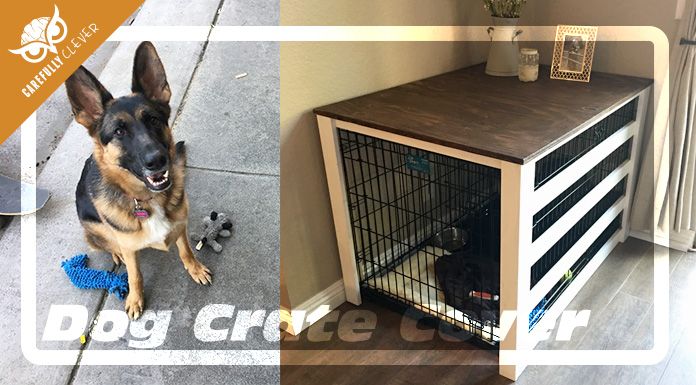
Solution, dog crate cover.

Sure you can buy one for $200 or more or you can build two yourself for under $40, maybe less.

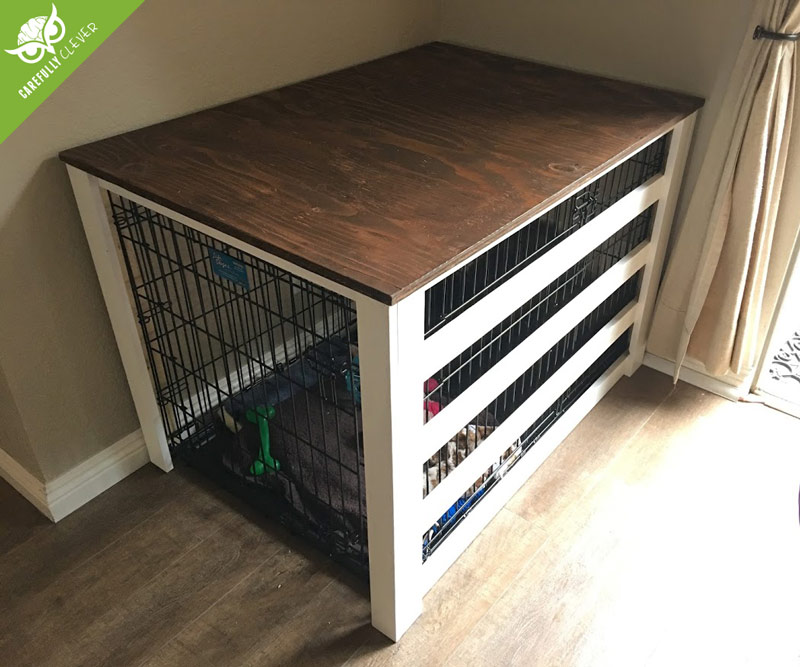
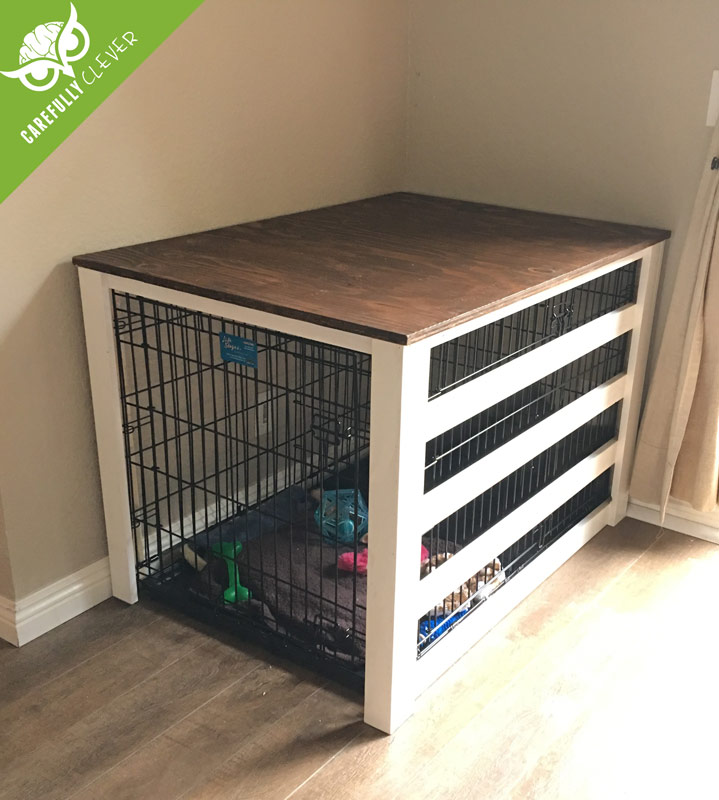
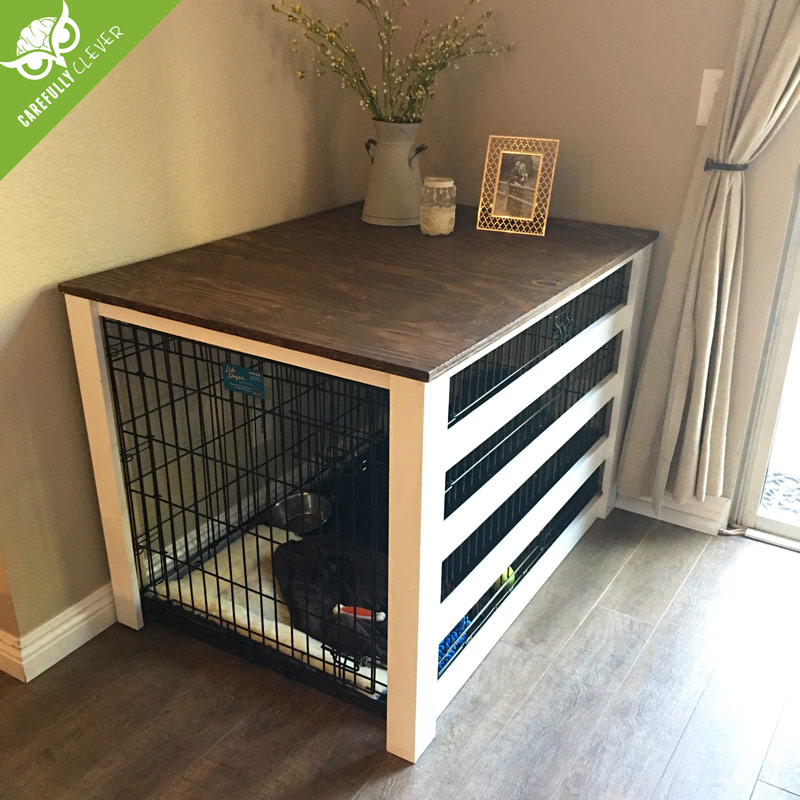
Dog crates come in all shapes and size so a tutorial wouldn’t do much good but maybe the visuals will inspire you to make your own.

I built the entire frame out of 1×3 boards except for the top frame that attached to the bottom of the plywood, for that I used 1×2 and the only reason for that was because there wouldn’t have been enough clearance for the door to open. The frame is NOT the support, the whole thing literally just lays on top of the crate, its simple a cover. If I were to remove the crate from underneath this thing would barely support its self or anything placed on top.

For the tops I bought a solid piece of plywood and cut to size. 1/2 inch and above should be fine. I wanted these thick, so there would be no bending or warping.

Below you can see the stained ply wood with the 1×2 white square frame attached to the bottme. This is what I attached the legs and sides to.
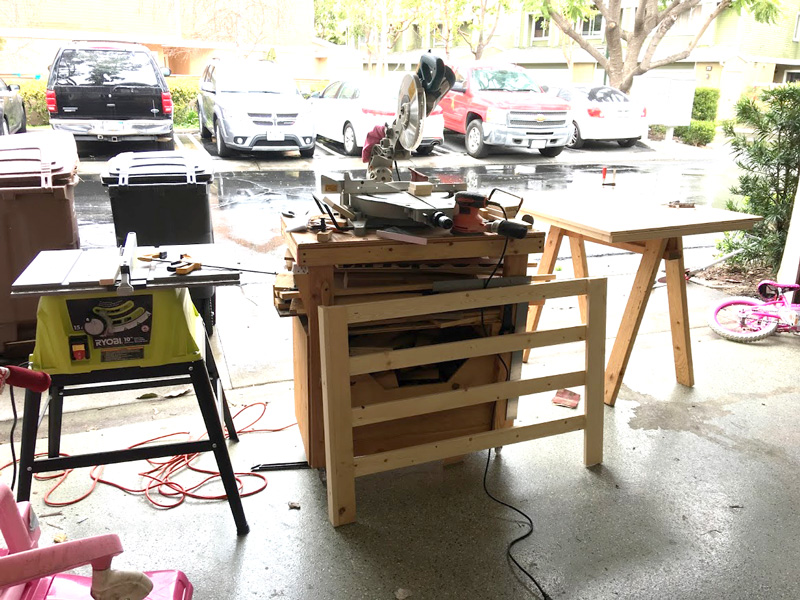
I had to assemble the legs and sides to the frame inside, this thing was too big to bring in through the door.
 Now it looks like our dogs live in a piece of furniture. I am happy.They dont stay small for long…

Pallet Wine Rack – DIY Pallet Wine Rack

0

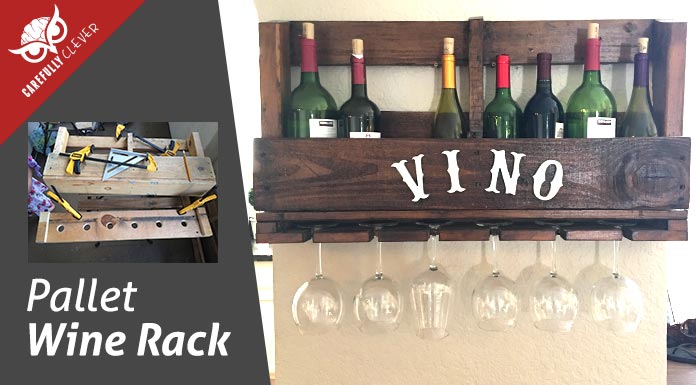
This wont be a tutorial but I will give some tips to help you build. This is a fun and simple project and there are many ways to do it.

Tip: A wine bottle is 12 inches high, cut your pallet down to not shorter than that.

Tip: Get a couple of wine glasses out and measure how many you want to hang. In this example I did 6.

Tip: Put a spacer if you plan on buying the 1.5L bottles of wine, otherwise they will NOT fit.

Tip: I used a 1 1/2 hole saw bit, made things easy.

For this look I used a Dark Walnut Stain

Tip: Put a few extra screws into the top rear board and side 2×4 boards for support, the rear board is usually where you attach to the wall and make sure you find a stud or use anchors. With all the wine, it gets heavy!

Rustic Pallet Coffee Table Top

0

What to do with wood pallets? Pallets can be a pain to dismantle but there is so much character in them and the finish products always come out looking good.

I had a coffee and side table that were very plan and had already been used for a while so to re-invent them I wanted to make a new top with old pallet boards. For this I really didn’t have to do much besides piece together different color woods and when I couldn’t find enough variety I stained a couple with a homemade vinegar solution. I cut to size and then attached all the boards at the bottom with 2 – 1×3 boards and a Nail gun, thats it!

What you will need:

Jazz & Hip-Hop? The best music to listen to while being productive.

0

I’m a front end web developer and graphic designer, I sit at my desk all day long working on my computer with headphones in and whats playing on those headphones you might ask? No, its not Norwegian death metal but you are close…its this genre that I didn’t know existed until probably 6 months ago called Lofi Hiphop. It is by far my favorite productive music. I want to say its a mix between jazz and hip hop. If I’m designing something, coding or just doing something that requires mellow background music, this is what I put on. Try it and tell me its not the best!

Sneak Preview of Some Augmented Reality Apps for iOS 11

0

Every now and then a new technology comes out that changes things. We have heard of Augmented Reality before, we have been inspired with google glass and tested it with pokemon go but if anyone can make Augmented Reality really come alive and become mainstream its Apple. Above is some early adopters of AR in iOS 11, this is only the beginning.


DIY Vintage Wall Mounted Coat Hanger

0

Its really amazing what you can do with such little effort and supplies.

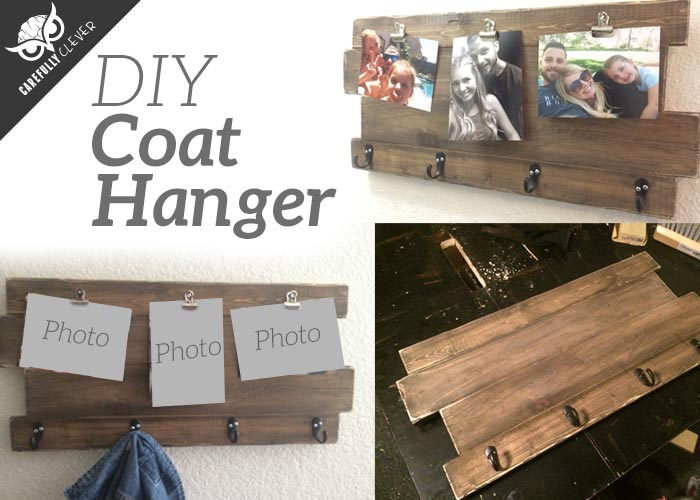
This DIY coat hanger or DIY backpack hanger was something I put together randomly with just a few pieces of left over scrap wood from past projects.

Supplies:

For this I Measured out 36″ with 2 different board widths and made my cuts. I connected the four boards together with 2 small pieces of scrap wood vertically in the back, this is also where I attached the wall hangers. I gave it a nice walnut wood stain. I then attached four Coat hooks and last minute decided to add 3 bull dog picture clips. Super simple DIY project and it turned out great!